I enjoyed making this pink fondant teddy bear. It was fun and very easy. The step-by-step instructions below may seem too long, but it just me posting so many pictures... so don't be discouraged. Before I begin, I would like to first say: don't worry how your teddy bear is looking like as you make it, it all comes together at the end.
You will need:
1. Pink fondant for the teddy bear
2. A small amount of dark fondant for the scarf
3. A small amount of additional colored fondant for the silk rose (in this case orange)
4. Black gel food Color for eyes and nose
5. Any icing tip for mouth markings
6. A fondant baller (modeling tools )
)
7. Piping gel (or food flavoring or vodka) to 'glue' fondant pieces
8. Decorating brush / Pearl dust (optional)
10. Like always, toothpicks (esential tools for cake decorating)
11. Read, "Working with Fondant" that I have previously posted.
Ste-by-Step Instructions:
1. Carve a muffin into the bear body and cover with rolled pink fondant
2. Roll a log of pink fondant to use as teddy bear's legs. Cut in the middle to have two legs
3. Attach logs of pink fondnat to bottom body of bear with raw spaghetti to form the legs
4. Use your wilton cutter with 'stitch' wheel to emboss stitches across the teddy bear by rolling across teddy bear body and along the legs of the teddy bear (as shown in pictures below)
5. Roll two smaller logs of pink fondant to use as the arms. Flattend the log and shape
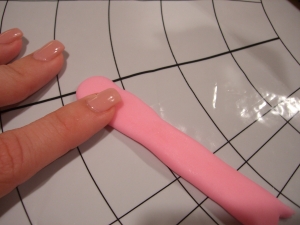
6. "Glue" one arm to the top of the teddy bear body with piping gel (if you don't have any, use food flavoring or vodka)
7. Position over leg as shown below
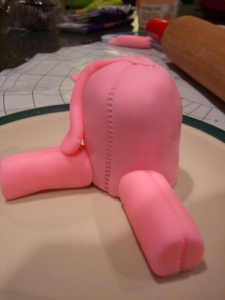
8. Repeat with second arm
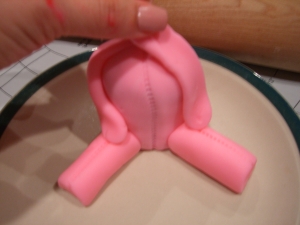
9. Use your wilton cutter with 'stitch' wheel to emboss "stitches" across the arms
10. Insert two raw spaghetties on top of the teddy bear's body to support the head (don't forget to trim spaghetti so they are not taller than the head)
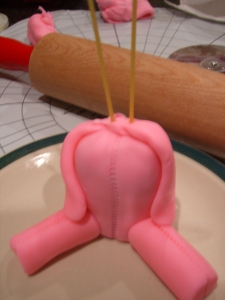
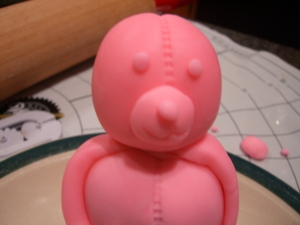
11. Roll a ball of pink fondant to use as the head and attach to top of the teddy bear body (emboss stitches across the head with your wilton cutter / embosser)
12. Roll one small ball of fondant to use as the teddy bear's snout and 3 tiny balls of fondant for the eyes and nose
13. Flatten the "snout' a little bit
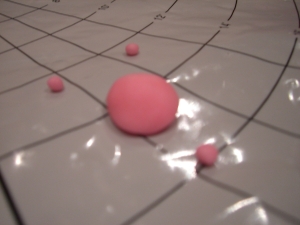
13. Position the snout by by gluing with piping gel and pressing sligthly to flatten
14. Posotion and glue eyes and nose with piping gel (tip: use toothpicks if necesary to position pieces)
15. Use the wider end of a icing tip to mark the mouth of the teddy bear
16. Roll two additional balls of fondant to make the ears of the teddy bear
17. Use the other end of your decorating brush to indent the ears
18. Cut the ends of the indented balls of fondant to make the ears and glue with piping gel to top of the head of the teddy bear
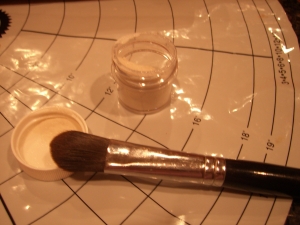
19. Optional Step: Brush your teddy bear with a little pearl dust to give it a little silky shine finish
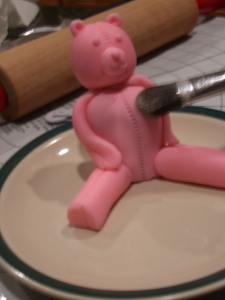
20. Roll a little strip of dark pink fondant and cut a strip with your wilton cutter to form the scarf
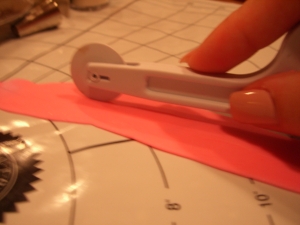
21. Position scarf at the base of its head and glue with piping gel
22. Roll a little strip of orange fondant (or color of choice) and cut a small thin strip with your wilton cutter to form the silk rose
23. Roll the strip to form the rose (tip: fold edges before rolling for a smooth finish)
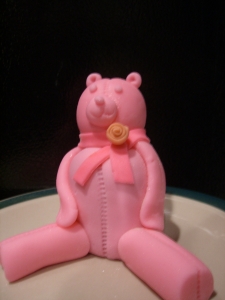
24. Color the eyes and nose with black gel coloring with your decorating brush.
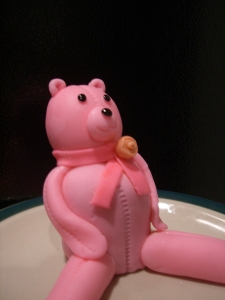
The end!!!

2 comments:
My sister-in-law loved this teddy bear and so did I. You did such a great job!!!
Thanks Armida,
Looking forward for the next one :)
Post a Comment